Welcome back to our project journal! This month, we’re taking you inside a recent transformation in a beautiful Mississauga home. Our mission was to overhaul a dated, builder-grade bathroom and turn it into a sophisticated, spa-like retreat. The design foundation for this project was a bold yet elegant combination: a rich green tone custom vanity with brushed gold fixtures and expansive 24”x24” grey porcelain tile. This project is a perfect example of how strategic material choices can completely redefine a space, creating a personal sanctuary right here in the GTA.
Project Quick Facts
- Project Type: Full 3-Piece Bathroom Renovation
- Location: Mississauga, Ontario
- Key Features: Custom vanity, walk-in shower with frameless glass, large-format porcelain tile, brushed gold hardware, LED-backlit mirror.
- Duration: 2 weeks
- Timeline: March 2024
The Design Vision
Our clients in Mississauga came to us with a clear vision: they wanted to escape the mundane. Their existing bathroom was functional but lacked personality and the sense of calm they craved at the start and end of a busy day. They were drawn to designs that felt organic, warm, and unapologetically modern.
The central idea was to create a “jewel box” effect, where a single piece of statement furniture would anchor the entire design. We landed on the idea of a custom-built vanity painted in a deep, moody green (specifically, Benjamin Moore’s “Salamander”). This colour choice was deliberate; it evokes a sense of nature, tranquility, and depth, immediately setting the space apart from the typical all-white bathroom.
To complement this bold choice, we needed a finish that would add warmth and light. Brushed gold was the natural answer. It provides a luxurious contrast to the deep green without the high shine of polished brass, keeping the look sophisticated and contemporary.
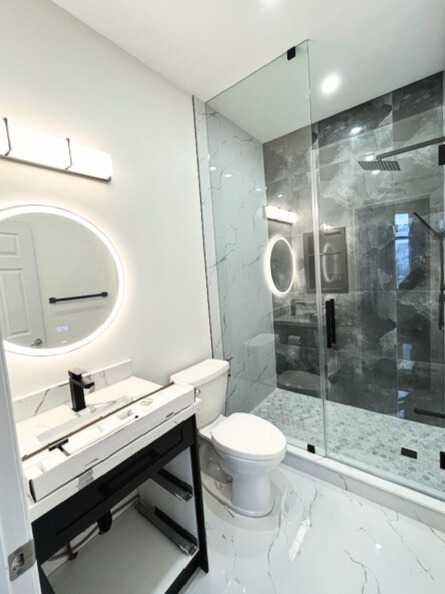
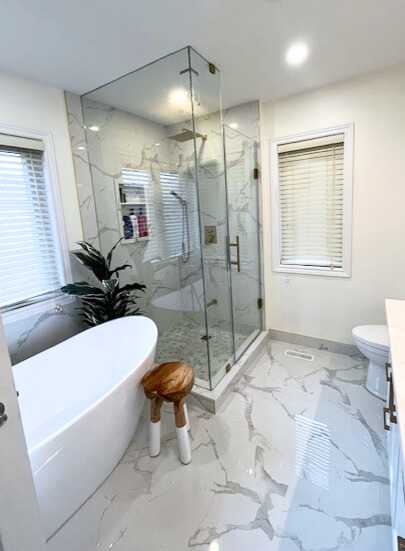
For the surrounding “canvas,” we opted for large-format 24”x24” grey porcelain tiles. The large size minimizes grout lines, creating a seamless, expansive feel that makes the room appear larger and more serene. The neutral grey tone provides a perfect, calming backdrop that allows the green vanity and gold fixtures to truly shine. The final piece of the vision was a spacious, curb-less entry shower with floor-to-ceiling glass, enhancing the open, airy atmosphere we were aiming for.
Materials & Specifications
A beautiful design is only as good as the materials used to bring it to life. For this Mississauga bathroom, we sourced high-quality, durable components designed to look stunning for years to come.
- Vanity: Custom-built, solid maple shaker-style vanity. Professionally spray-painted in Benjamin Moore’s “Salamander” with a durable, satin finish. Features soft-close drawers and doors.
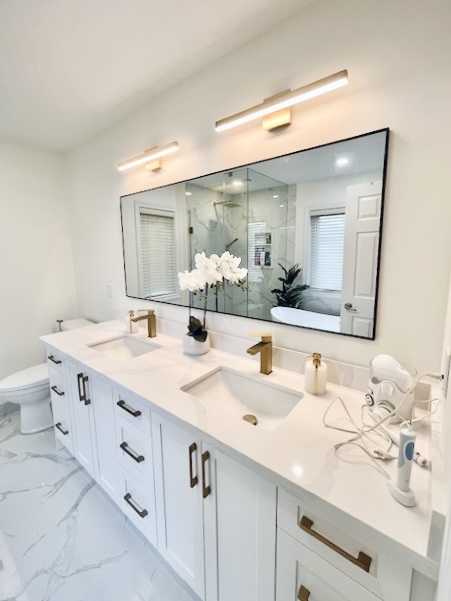
- Countertop: 1.25” thick Quartz in “Calacatta Laza” with subtle grey veining to tie into the floor tile. Undermount sink.
- Fixtures: All fixtures from the Delta Trinsic collection in Champagne Bronze finish. This included the widespread faucet, shower trim kit with a rain head and handheld wand, and all accessories (towel bar, robe hook).
- Floor & Wall Tile: 24”x24” rectified porcelain tile in a matte, concrete-look grey. Using the same tile on the floor and shower walls creates a cohesive, monolithic look.
- Shower Base: Pre-sloped Schluter-KERDI shower base for perfect drainage and waterproofing.
- Waterproofing: Full Schluter-KERDI waterproofing system applied to all shower walls and the main bathroom floor. This German-engineered system is our standard for creating a fully sealed, vapour-tight enclosure that far exceeds Ontario Building Code requirements.
- Grout: Mapei Flexcolor CQ in “Warm Gray” for its stain resistance and colour consistency.
- Toilet: TOTO Drake II one-piece, comfort height, dual-flush toilet.
- Lighting: 36” round LED-backlit mirror with adjustable colour temperature, supplemented by two new ceiling pot lights on a dimmer switch for layered lighting control.
- Ventilation: A new Panasonic WhisperCeiling fan was installed, vented directly to the exterior, ensuring proper moisture management and compliance with code.
The Process & Timeline
A two-week timeline for a full gut renovation is ambitious, but with meticulous planning and a dedicated team, it’s entirely achievable. Here’s how we structured the project day by day.
Week 1: Demolition and Foundation
- Day 1-2: Demolition & Prep. The first step is always a clean slate. Our crew carefully removed the old vanity, toilet, tub, and all existing tile. The site was swept clean, and protective floor coverings were laid from the front door to the work area. We sealed off the room with plastic sheeting to contain dust.
- Day 3: Plumbing & Electrical Rough-ins. With the walls open, our licensed plumber and electrician got to work. The plumbing was re-routed for the new shower valve and drain location. The electrical plan involved moving the vanity light wiring from a single box to two for future sconces (though we ultimately used a backlit mirror) and adding a new circuit for the pot lights. All electrical work was done to ESA (Electrical Safety Authority) standards.
- Day 4-5: Subfloor & Shower Base. We inspected the subfloor for any water damage, making minor repairs to ensure a perfectly level and stable surface for the large-format tiles. The Schluter shower base and curb were installed, and the drain was connected.
- Day 6-7: Waterproofing. This is one of the most critical stages. We meticulously installed the Schluter-KERDI membrane over the drywall in the shower and on the entire bathroom floor. Every seam, corner, and screw head was sealed, creating a completely watertight and mould-proof envelope. This system is our guarantee of a leak-free bathroom.
Week 2: Finishes and Assembly
- Day 8-10: Tiling. The artistry begins. Our tile setter started by laying the 24”x24” grey porcelain tiles, beginning with the shower walls and moving to the main floor. Using a laser level and a precise layout plan, we ensured perfect alignment and minimal grout lines for that seamless, modern aesthetic. The large format requires expertise to prevent lippage and ensure full mortar coverage.
- Day 11: Grouting & Painting. Once the tile mortar was fully cured, we applied the stain-resistant grout. Simultaneously, our painter applied two coats of Benjamin Moore’s “Aura Bath & Spa” paint in a soft, complementary grey to the remaining walls and ceiling. This paint is specifically designed to withstand high-humidity environments.
- Day 12: Vanity & Toilet Installation. The moment of truth! The stunning green tone custom vanity was carefully brought in and secured. Our plumber returned to install the quartz countertop, undermount sink, and the elegant brushed gold faucet. The new TOTO toilet was also installed.
- Day 13: Final Fixtures & Glass. The finishing touches make all the difference. We installed the shower fixtures, the LED-backlit mirror, towel bars, and the new ventilation fan. The custom-measured frameless glass shower door and panel were installed by our glass specialists, completing the walk-in shower.
- Day 14: Final Inspection & Cleanup. We conducted a thorough final inspection, testing every fixture, checking every detail, and performing a deep clean of the entire space and the path through the client’s home. We concluded with a final walkthrough with our thrilled Mississauga clients.
The Final Look
Walking into the completed bathroom is like stepping into a boutique hotel. The deep green vanity immediately draws your eye, its rich colour beautifully accented by the warm glow of the brushed gold fixtures. The expansive grey porcelain tiles create a calm, unified space that feels both larger and more luxurious than before.
The frameless glass of the walk-in shower seems to disappear, contributing to the open, airy feeling. Inside, the rain head offers a spa-like experience. The LED-backlit mirror provides perfect, shadow-free lighting for daily routines, while the dimmed pot lights can create a more relaxed ambiance in the evening. Every element works in harmony, a testament to a clear design vision and precise execution. It’s a space that is not only beautiful but also deeply personal and functional.
Feeling inspired by this Mississauga bathroom transformation? We can help you design and build the bathroom of your dreams. Let’s start with a free quote.
Design Takeaways
This project offers several key insights for anyone planning a bathroom renovation in the Toronto area:
- Embrace a Statement Vanity: Don’t default to white or wood. A coloured vanity can serve as the primary design element, infusing the room with personality and style. Custom builds allow you to get the exact size, style, and colour you envision.
- Go Big with Tile: Large-format tiles (24”x24” or larger) are excellent for both small and large bathrooms. They reduce the visual clutter of grout lines, making the space feel more serene and expansive.
- Mix Metals with Intention: The combination of the brushed gold and the neutral grey tile works because it’s a deliberate contrast. The warmth of the gold balances the cool tones of the grey, creating a dynamic yet harmonious palette.
- Invest in Waterproofing: What you can’t see is just as important as what you can. A professional waterproofing system like Schluter-KERDI is an investment in your home’s longevity, preventing costly issues with leaks and mould down the line.
Maintenance Tips
To keep this beautiful bathroom looking its best, we provided the clients with a few simple care instructions:
- Brushed Gold Fixtures: Clean with a soft, damp cloth only. Avoid abrasive cleaners, chemical sprays, or harsh scrubbing pads, which can damage the PVD finish.
- Porcelain Tile: Porcelain is incredibly durable. For regular cleaning, a simple solution of warm water and a pH-neutral cleaner is sufficient. The stain-resistant grout will also make upkeep much easier.
- Custom Vanity: Dust with a soft, dry cloth. For cleaning, use a damp cloth and a mild soap, wiping dry immediately. Avoid letting water pool on the surface.
- Glass Shower Door: Use a squeegee after each shower to prevent water spots and mineral buildup. A weekly clean with a vinegar-and-water solution will keep it sparkling.
Frequently Asked Questions
How long does a bathroom renovation typically take in Mississauga?
While every project is unique, a standard 3-piece bathroom gut and remodel, like the one featured here, can often be completed in 2-3 weeks. Our 2-week timeline for this project was possible due to careful pre-planning, having all materials on-site before we began, and excellent coordination between our skilled tradespeople.
Do I need a permit for a bathroom renovation in the City of Mississauga?
It depends on the scope of work. If you are simply replacing fixtures in their existing locations (a “like-for-like” swap), a permit is typically not required. However, if you are moving plumbing (like drains or water lines), changing walls, or altering the electrical layout, a building permit is necessary to ensure all work complies with the Ontario Building Code. We handle the entire permit process for our clients when required.
What is the advantage of a custom vanity over a store-bought one?
A custom vanity offers complete control over size, style, colour, and storage configuration. For this project, a custom unit allowed us to maximize storage in a specific footprint and achieve the exact shade of green the client desired. It also guarantees higher-quality materials and construction (like solid wood frames) compared to many mass-produced options, ensuring it lasts a lifetime.
Ready to transform your own bathroom into a personal oasis? Our team is here to guide you through every step, from design to final reveal. Get your free, no-obligation quote today and let’s start building your dream space.