From Cramped to Custom: A Woodbridge Kitchen Reno That Redefined the Heart of the Home
A kitchen is so much more than a place to cook. It’s the command centre of the home, the backdrop for morning coffee rituals, homework sessions, and late-night conversations. For one family in Woodbridge, Ontario, their kitchen had stopped serving these vital roles. It was a relic of a previous era—a cramped, inefficient layout with dated finishes that made daily life a frustrating puzzle. This is the story of their transformative kitchen reno, a project that went beyond simple updates to completely reimagine the flow, function, and feel of their main floor.
This Woodbridge kitchen renovation proves that thoughtful design, focused on optimizing a home’s existing footprint, can deliver results that feel like a full-scale home addition without moving a single exterior wall.
Quick Facts
- Location: Woodbridge, ON
- Category: Kitchen Renovation
- Key Features: Reconfigured open-concept layout, custom two-tone Shaker cabinetry, oversized quartz island with seating, integrated panel-ready appliances, layered LED lighting scheme.
- Duration: nan
- Project Completion: Summer 2023
The Design Vision: Breaking Down Walls to Build Connection
The “before” picture was a familiar one for many homeowners in established GTA neighbourhoods. The kitchen was closed off from the adjacent family room by a non-load-bearing wall, creating two disconnected, smaller spaces. The classic U-shaped layout, while functional in theory, resulted in awkward corner cabinets, limited counter space, and a bottleneck traffic flow. The family felt isolated when cooking and found it impossible to entertain guests gracefully.
Our design consultation centred on one primary goal: connection. The homeowners dreamed of a bright, airy, open space where they could cook, entertain, and connect with family simultaneously.
The core vision included:
- Removing the Wall: The most critical step was to remove the wall separating the kitchen and family room. This would immediately create an expansive great room and allow natural light from the back of the house to flood the entire area.
- Creating a Central Hub: A large island was non-negotiable. It needed to serve multiple purposes: a primary prep zone with an undermount sink, a casual dining spot for four, a storage powerhouse with deep drawers, and a visual anchor for the new, larger space.
- Optimizing the Workflow: We abandoned the inefficient U-shape for a highly functional L-shaped perimeter with the island at its centre. This new layout created a much more intuitive “work triangle” between the fridge, range, and sink, making meal prep a seamless experience.
- A Timeless Aesthetic: The homeowners wanted a look that was contemporary yet timeless. We landed on a two-tone cabinetry scheme—crisp white for the perimeter cabinets to keep the space feeling bright, and a deep, sophisticated navy for the island to add depth and character.
Materials & Specifications: Quality That You Can See and Feel
A beautiful design is only as good as the materials used to bring it to life. For this Woodbridge kitchen, we selected a palette of durable, high-quality finishes designed for the rigours of family life.
- Cabinetry: We designed and installed custom Canadian-made Shaker-style cabinets. The perimeter cabinets were finished in Benjamin Moore’s ‘Chantilly Lace,’ while the island provided a stunning contrast in ‘Hale Navy.’ All doors and drawers were outfitted with soft-close hardware for a touch of quiet luxury.
- Countertops & Backsplash: To create a seamless and elegant look, we used 3cm Calacatta Laza quartz for both the countertops and the full-height backsplash. This engineered stone offers the dramatic veining of natural marble without the maintenance, making it a perfect choice for a busy family. Its non-porous surface is resistant to staining and easy to clean.
- Appliances: A suite of panel-ready appliances, including a Bosch dishwasher and a Fisher & Paykel refrigerator, were chosen to blend seamlessly with the cabinetry. This integration creates a clean, uncluttered look that makes the space feel larger and more high-end. A stainless steel gas range acts as a professional-grade focal point.
- Flooring: New 7-inch wide-plank engineered hardwood was laced into the existing flooring on the main level and refinished for a perfect, uniform match. This continuity is key to making an open-concept layout feel cohesive.
- Lighting: We implemented a layered lighting strategy, essential for both function and ambiance. This included:
- Ambient: New ceiling pot lights, strategically placed to eliminate shadows, all installed by a licensed electrician and inspected by the ESA (Electrical Safety Authority) as required by Ontario code.
- Task: Under-cabinet LED strip lighting to illuminate the countertops for food prep.
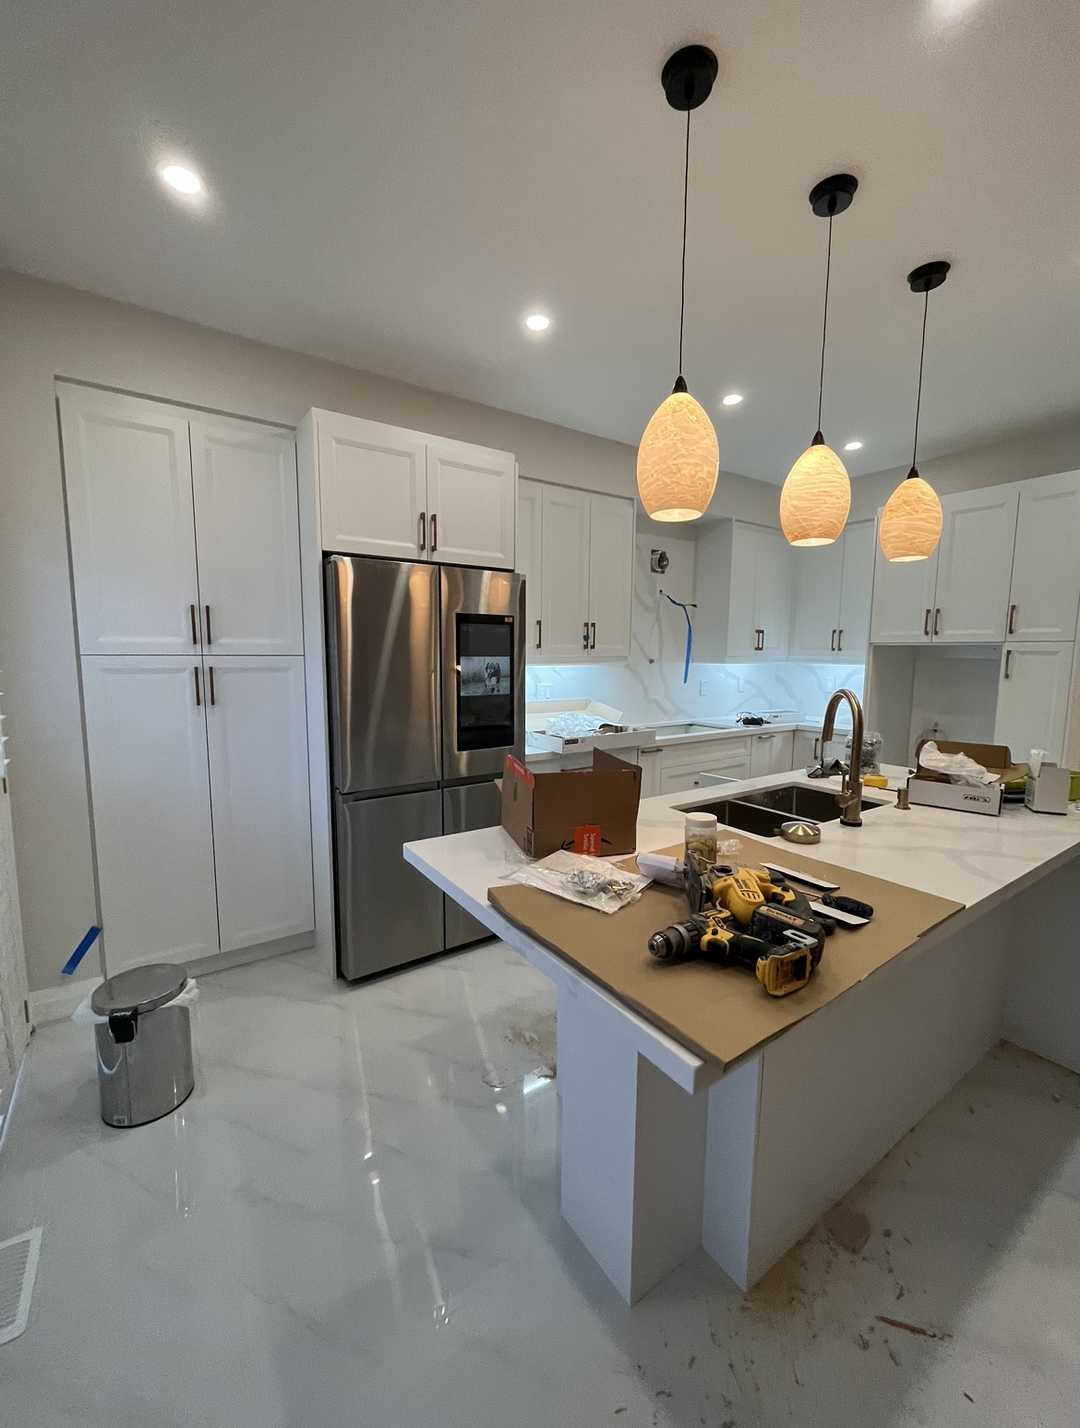
- Accent: Two large, brushed gold pendants above the island to provide warm, focused light and a touch of glamour.
- Fixtures: A matte black, high-arc pull-down faucet was paired with a large, single-basin undermount stainless steel sink, deep enough to hide dishes and handle large pots with ease.
The Process & Timeline: A Phased Approach to Perfection
While every custom renovation project has a unique schedule, the process follows a meticulous, phased approach to ensure quality and code compliance at every step.
The first phase was demolition and preparation. Our team carefully removed the old kitchen and the non-load-bearing wall, ensuring dust was contained and the rest of the home was protected.
Next came the crucial mechanical rough-in stage. This is where the new layout truly took shape. Our licensed electricians re-routed wiring for the new island outlets, pot lights, and appliance locations, ensuring everything was up to the latest Ontario Electrical Safety Code. Plumbers adjusted the water supply and drainage for the new sink location in the island. All of this foundational work was inspected and approved before any walls were closed.
With the groundwork laid, the installation phase began. The new hardwood flooring was installed, followed by the precise placement of the custom cabinetry. Our countertop fabricators then created a digital template of the installed cabinets to ensure the quartz was cut to perfection. Once the stunning countertops and backsplash were in place, the kitchen’s personality truly began to shine.
The final phase was all about the finishing touches. Appliances were installed and commissioned, the plumbing fixtures were connected, a fresh coat of paint was applied, and the beautiful light fixtures were hung. A final, detailed walkthrough with the homeowners ensured every single element was perfect before we officially handed them back their new dream kitchen.
The Final Look: A Space Reborn
Stepping into the finished kitchen is like stepping into a different home. Where there was once a dark, cramped room, there is now an expansive, light-filled great room that buzzes with energy. The large island is the undisputed heart of the space, a place where kids do their homework while dinner is being prepared, and where friends gather with a glass of wine on a Friday night.
The sightlines are now completely open from the front door straight through to the backyard, creating an incredible sense of space and flow. The two-tone cabinetry adds visual interest without overwhelming the eye, and the warm glow from the pendant lights makes the room feel inviting at any time of day. Most importantly, the new layout works. Every cabinet, every drawer, and every appliance is exactly where it needs to be, transforming cooking from a chore into a joy.
Design Takeaways for Your Own Renovation
This Woodbridge kitchen reno offers some valuable lessons for any Ontario homeowner considering a similar project:
- Don’t Be Limited by Your Current Layout: The single most impactful change in this project was removing a wall. Before you start picking finishes, critically assess your kitchen’s layout. Often, the best investment you can make is in reconfiguring the space for better flow.
- An Island Can Be a Game-Changer: If you have the space, a well-designed island can solve multiple problems at once—providing prep space, storage, seating, and a social hub.
- Invest in Integrated Appliances: For a clean, high-end, and spacious feel, panel-ready appliances are worth the investment. They allow your cabinetry design to be the star of the show.
- Go Full-Height with Your Backsplash: Taking the countertop material all the way up the wall as a backsplash creates a dramatic, seamless, and incredibly easy-to-clean surface. It’s a touch of luxury that makes a huge difference.
Maintenance Tips for Your New Kitchen
- Quartz Care: Clean your quartz countertops daily with a soft cloth, water, and a drop of mild dish soap. Avoid abrasive scrubbers or harsh chemical cleaners like bleach or oven cleaner. Always use trivets for hot pots and pans.
- Custom Cabinetry: Wipe up spills immediately with a soft, damp cloth. For deeper cleaning, use a mild, non-abrasive cleaner. Avoid silicone-based polishes, which can build up over time.
- Matte Black Faucets: Clean with a simple solution of water and mild soap. Avoid wax-based cleaners or harsh chemicals, which can damage the finish.
Frequently Asked Questions
Do I need a permit for a kitchen renovation in Woodbridge?
It depends on the scope of work. For a project like this one, which involved removing a wall and altering electrical and plumbing systems, permits from the City of Vaughan are absolutely required. This ensures all work is done to the Ontario Building Code and is inspected for safety. A simple cosmetic update like painting cabinets or replacing a faucet typically does not require a permit.
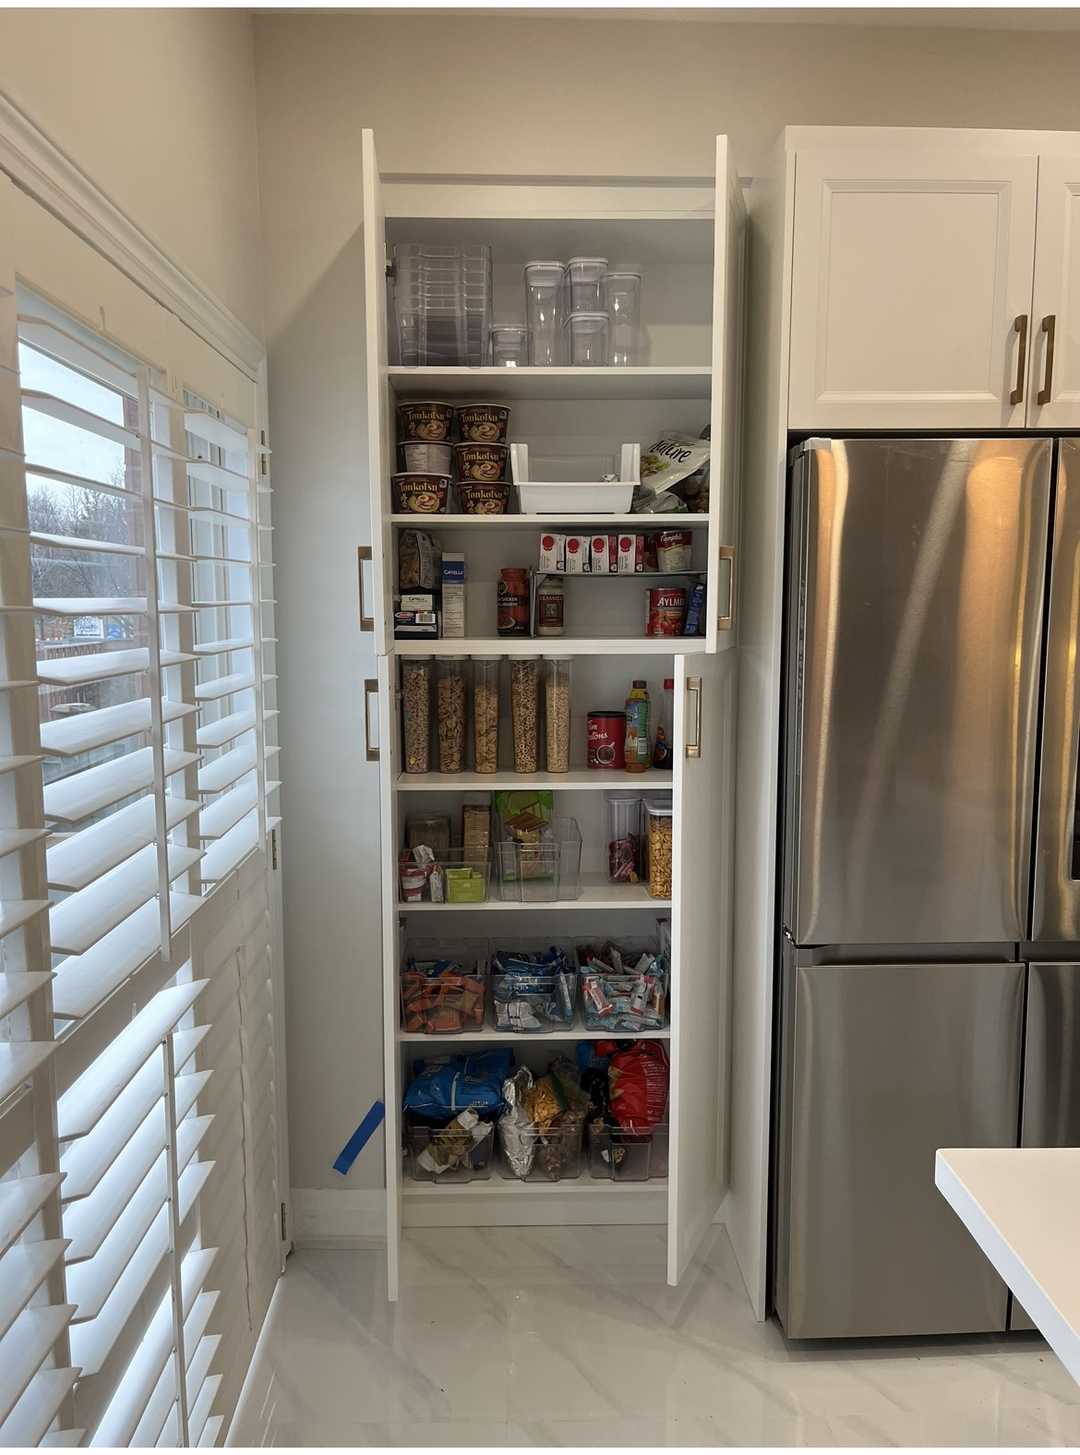
What is the biggest advantage of choosing custom cabinetry over stock options?
Custom cabinetry allows you to maximize every single inch of your space. Unlike stock cabinets that come in standard sizes, custom work is built to the exact dimensions of your room. This means no awkward filler strips, more efficient storage solutions (like custom drawer dividers or pull-out pantries), and the ability to get the exact style and colour you envision.
How can I make sure my new open-concept kitchen feels cohesive with the rest of my home?
Continuity is key. As we did in this project, running the same flooring throughout the entire open area is the most effective way to unify the space. You should also consider the colour palette. Pull paint colours or accent tones from your adjoining family room into the kitchen through things like textiles, decor, or even the island colour to create a harmonious design story.
This Woodbridge kitchen is more than just a successful renovation—it’s a testament to the power of thoughtful design. It’s a space that has fundamentally changed how this family lives in, and loves, their home.
Ready to rethink your kitchen’s potential? Contact us for a free quote and let’s start designing the heart of your home.