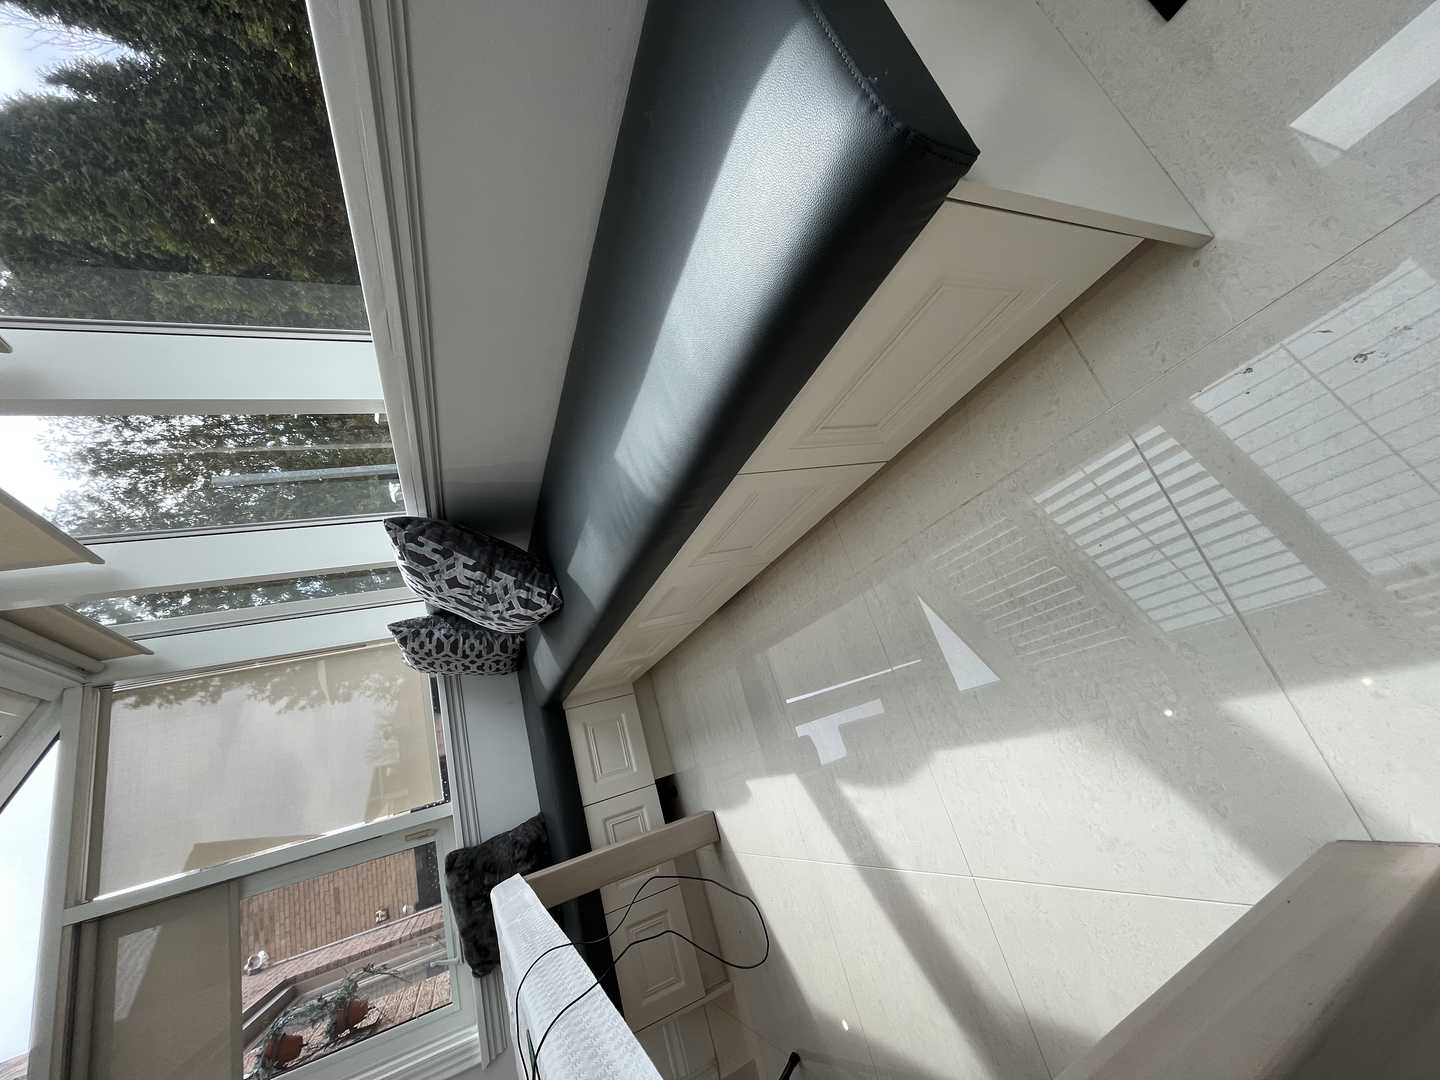

A living room’s focal point should do more than just hold a television; it should anchor the space, provide intelligent storage, and reflect the homeowner’s style. For one family in Woodbridge, ON, the wall surrounding their fireplace was an opportunity waiting to be realized. They envisioned a custom fireplace wall unit that would transform their living area from ordinary to extraordinary. This project was about creating a seamless, architectural feature that combined flawless aesthetics with everyday functionality, turning a blank wall into the heart of their home.
Project Quick Facts
- Project Type: Custom Fireplace Wall Unit & Cabinetry
- Location: Woodbridge, ON
- Key Features: Floor-to-ceiling built-ins, integrated media storage, concealed wiring, custom mantel
- Duration: 2 weeks
- Project Year: 2023
The Design Vision
The initial challenge was a common one we see in homes across the Greater Toronto Area: a standard fireplace on a large, underutilized wall. The existing setup lacked personality and, more importantly, storage. Wires from the television and media components were visible, and there was no dedicated place for books, family photos, or cherished decor.
Our clients in Woodbridge had a clear vision. They wanted a modern, clean-lined design that felt completely integrated with the room’s architecture. The goals were threefold:
- Conceal the Clutter: Create ample closed storage to hide electronics, games, and other household items, resulting in a serene and organized space.
- Showcase with Style: Incorporate open shelving to display art and personal treasures, adding character and warmth.
- Elevate the Fireplace: Frame the fireplace in a way that made it a true centerpiece, rather than just an appliance.
During our collaborative design sessions, we developed a concept for a symmetrical, floor-to-ceiling unit. This approach creates a powerful sense of balance and intention. We used 3D renderings to help the homeowners visualize the final piece in their space, allowing us to refine every detail, from shelf thickness to the precise location of the television, ensuring it was at the optimal viewing height. The final design was a testament to bespoke cabinetry—a solution tailored perfectly to their home and lifestyle.
Materials & Specifications: A Technical Deep-Dive
The longevity and beauty of a custom built-in lie in the materials chosen and the methods used to construct it. For this fireplace wall unit, we selected premium components and adhered to rigorous construction standards to ensure it would stand the test of time.
Cabinet Carcass Construction
The internal structure, or “carcass,” of the cabinets is the foundation of the entire unit. We opted for ¾-inch furniture-grade birch plywood. Unlike the particleboard or medium-density fiberboard (MDF) often found in off-the-shelf units, plywood offers superior structural integrity. Its layered construction provides exceptional screw-holding strength, which is critical for securely mounting hinges and drawer slides. Furthermore, it has a far greater resistance to sagging under weight, a crucial attribute for the wide shelves designed for this unit. Each cabinet box was assembled using dado and rabbet joints, reinforced with pocket screws. This robust joinery ensures the cabinets are perfectly square and incredibly strong.
Doors, Drawers, and Mantel
For a clean, modern aesthetic, the clients chose a flat-panel “slab” style for the doors and drawer fronts. These were crafted from high-density fiberboard (HDF). While some may be surprised we didn’t use solid wood, HDF is the superior choice for a painted finish. It is an engineered wood product that is incredibly stable and dense, providing a flawless, monolithic surface for paint. Unlike solid wood, it will not expand or contract with changes in humidity, which prevents the hairline cracks that can appear at the joints of painted wood doors over time.
The mantel was constructed as a torsion box—a hollow, grid-like internal structure skinned with MDF. This engineering trick creates a thick, substantial-looking mantel that is surprisingly lightweight and incredibly rigid, preventing any possibility of sagging over the fireplace opening.
The Finish: Beyond Simple Paint
A piece of fine furniture deserves a finish to match. The entire unit was sprayed in a professional booth with a catalyzed conversion varnish. This is a multi-step process that creates a finish far more durable than any standard latex or acrylic paint.
- Priming: Two coats of high-solids primer are applied, with sanding between each coat to create a perfectly smooth base.
- Topcoat: Two to three coats of pigmented conversion varnish in a satin sheen were applied. The chemical catalyst in the varnish creates a hard, cross-linked surface that is highly resistant to chipping, scratches, yellowing, and damage from household cleaners. This is the same type of finish used on high-end kitchen cabinetry, chosen here to ensure the unit remains beautiful for decades.
Hardware and Integration
The unseen components are just as important as the visible ones.
- Hinges: We used Blum soft-close, concealed Euro-style hinges. Their six-way adjustability is essential for achieving the razor-thin, perfectly consistent gaps between each door, a hallmark of high-quality custom cabinetry.
- Drawer Slides: For the lower drawers, we installed Blum TANDEM full-extension, soft-close undermount slides. Being undermount, the hardware is completely invisible when the drawer is open. The full-extension travel allows easy access to the entire drawer, and the soft-close mechanism adds a touch of quiet luxury.
Ontario Building Code & Electrical Compliance
Building around a fireplace requires strict adherence to safety codes. Our process is governed by the Ontario Building Code (OBC) and the specific clearance requirements outlined by the fireplace manufacturer.
- Clearances to Combustibles: The OBC dictates the minimum distance that combustible materials (like our wood and MDF unit) must be from the firebox opening. We designed the unit to respect these clearances precisely, ensuring the mantel was at a safe height and the side cabinets were positioned correctly.
- Electrical Work: Integrating a TV and media components requires careful electrical planning. All new wiring was performed by a licensed electrical contractor holding a valid ECRA/ESA license. A new recessed outlet was installed behind the TV location, and additional outlets were placed inside the lower cabinets for media players and game consoles. We also installed low-voltage conduits within the wall and cabinetry to run HDMI and speaker wires invisibly. All this work was done under an ESA permit and was fully inspected to comply with the Ontario Electrical Safety Code.
The Process & Timeline
While every project’s timeline is unique, the process for creating a custom built-in follows a structured series of phases designed to maximize efficiency and minimize disruption in your home.
- Phase 1: Consultation and Detailed Design: We began with an in-home consultation in Woodbridge to measure the space and discuss the family’s needs in detail. From there, our design team created 3D models to refine the layout, proportions, and finishes until the client was completely satisfied.
- Phase 2: Off-Site Fabrication: Once the design was approved, the entire unit was built in our controlled workshop environment. This is a critical step, as it allows us to perform all the cutting, assembly, and finishing away from the client’s home, keeping dust and disruption to an absolute minimum.
- Phase 3: Site Preparation: Just before installation, our team arrived on-site to prepare the space. This included protecting floors and adjacent furniture, removing the old mantel, and coordinating with our electrician to have the new wiring roughed in and inspected.
- Phase 4: Installation: With the components fabricated and the site prepped, the installation process was efficient. Our skilled installers began by scribing the base cabinets to the floor to ensure a perfect, gap-free fit, even if the floor wasn’t perfectly level. They then expertly assembled the unit piece by piece, securing it to the wall studs for stability.
- Phase 5: Finishing and Handover: The final stage involved hanging and adjusting all doors and drawers for perfect alignment, installing hardware, and applying a final bead of caulk where the unit met the walls for a truly “built-in” look. After a thorough cleanup and final inspection, we proudly presented the finished piece to the homeowners.
The Final Look
The transformation was stunning. The once-blank wall is now a sophisticated and highly functional architectural feature. The symmetrical design brings a sense of calm and grandeur to the living room, while the satin finish beautifully catches the light. The television, once an awkward focal point, is now perfectly integrated, with not a single wire in sight.
The combination of closed lower cabinets and open upper shelving strikes the perfect balance between storage and display. The unit doesn’t just occupy the wall; it completes it. It has fundamentally changed how the family uses and enjoys their living space, providing a backdrop for both quiet nights in and gatherings with friends and family.
Design Takeaways for Your Home
Considering a similar project? Here are a few key takeaways from this Woodbridge transformation:
- Embrace Symmetry: For a primary focal wall, a symmetrical design creates an immediate sense of order and elegance. Flanking a central element like a fireplace or TV with identical cabinetry is a timeless strategy.
- Plan Your Technology First: Before finalizing cabinet dimensions, know the exact size of the TV you plan to use, as well as any soundbars, speakers, or other components. This allows for precise integration and ensures all your wiring needs are met from the start.
- Invest in a Professional Finish: The durability and appearance of a factory-applied conversion varnish are unmatched by any on-site painting method. For a high-touch piece of furniture like a wall unit, this investment is crucial for long-term satisfaction.
Maintenance Tips
To keep your custom cabinetry looking its best for years to come:
- Routine Cleaning: Dust regularly with a soft, dry cloth. For cleaning, use a slightly damp microfiber cloth with a drop of mild dish soap, then wipe dry with a separate clean cloth. Avoid abrasive cleaners, scouring pads, or excessive moisture.
- Avoid Harsh Chemicals: Never use cleaners containing ammonia, bleach, or solvents, as they can damage the protective varnish finish.
- Check Your Hardware: Over time and with use, hinges may require minor adjustments to keep doors perfectly aligned. This is a simple task that can be done with a Phillips head screwdriver.
Frequently Asked Questions
Do I need a permit to build a fireplace wall unit in Woodbridge?
For the cabinetry itself, a building permit from the City of Vaughan is typically not required as it’s considered furniture or finishing work. However, any associated electrical work—such as adding new outlets for your TV and media components—absolutely requires an electrical permit from the Electrical Safety Authority (ESA). We always use a licensed electrical contractor and manage the permit process to ensure all work is safe and code-compliant.
How do you guarantee the unit is safe around the heat from the fireplace?
Safety is paramount. We strictly adhere to two key standards: the Ontario Building Code’s requirements for clearances to combustible materials and the specific installation manual for your fireplace model. We ensure the wood and MDF components of the cabinetry are kept at a safe distance from the firebox opening, and the mantel is positioned at a height that prevents overheating. If necessary, we incorporate non-combustible materials like tile or stone directly around the fireplace surround.
What is the advantage of a custom-built unit over something I can buy in a store?
The advantages are immense. A custom unit is designed and built to the exact dimensions of your wall, resulting in a truly integrated look with no awkward gaps or fillers. You have complete control over the design, materials, finish, and functionality. Our construction methods, using plywood carcasses and catalyzed varnish finishes, are far superior to the mass-produced alternatives, ensuring a piece that is not only more beautiful but significantly more durable.
If a custom cabinetry solution like this fireplace wall unit could redefine a space in your home, we’d love to help you explore the possibilities. We invite you to get in touch for a free quote and start the conversation about your project today.