

Here we are again, wrapping up another project that feels less like a renovation and more like a reinvention. This time, we were in a lovely Mississauga neighbourhood, tackling a bathroom straight out of 1981. Our mission was to bring it into the present day, creating a serene, spa-like retreat. The centrepiece of this transformation? A breathtaking wood paneling shower accent wall, designed to bring warmth and texture into a sleek, modern space. This project was a perfect example of how a well-planned design, especially a shower with a distinct personality, can completely redefine a room, even on an incredibly tight timeline.
For many homeowners in the Greater Toronto Area, the idea of a full bathroom gut and remodel feels daunting. But as this project proves, with a clear vision and an expert team, a stunning new bathroom is more achievable than you might think.
Project Quick Facts
- Category: Full Bathroom Renovation
- Location: Mississauga, ON
- Key Features: Walk-in shower with floor-to-ceiling tile, porcelain wood-look accent wall, floating vanity, custom glass enclosure, LED pot lighting.
- Duration: 1 weeks
The Design Vision: From Dated to Dramatic
Our clients came to us with a common challenge: a functional but deeply dated bathroom. The original space, built in the early ’80s, featured a bulky acrylic tub-shower combo, a large floor-mounted vanity that consumed visual space, and tiles that had seen better days. It was dark, cramped, and lacked any sense of luxury.
The vision was clear from our first consultation: create a bright, open, and organic-feeling space. The clients loved the warmth of natural wood but understood its limitations in a wet environment like a shower. This led us to the core concept of the design—a feature wall that would serve as the bathroom’s focal point. We decided on a high-quality, textured porcelain tile that masterfully mimics the look and feel of reclaimed wood planks.
This wood paneling shower accent wall would provide the desired aesthetic without any of the maintenance or water-damage concerns of real wood. To support this warm, natural element, the rest of the design was kept clean and minimalist. We planned for large-format, light grey tiles for the floor and other shower walls, a sleek floating vanity to create an illusion of more floor space, and a frameless glass enclosure to keep the sightlines open and unobstructed. The goal was to build a sanctuary—a place to unwind at the end of a long day, surrounded by a beautiful blend of natural texture and modern simplicity.
Materials & Specifications
A high-end finish is only possible with high-quality materials. For this Mississauga bathroom, we curated a palette that balanced durability, beauty, and compliance with the Ontario Building Code.
- Shower System & Waterproofing: The foundation of any great bathroom is what you can’t see. We used the complete Schluter-KERDI system for the shower. This includes the pre-sloped shower tray, the KERDI-DRAIN, and the KERDI waterproof membrane, which was applied to the walls and floor. This system creates a fully sealed, watertight enclosure that far exceeds standard code requirements, providing total peace of mind against leaks and mould.
- Wall Tiles:
- Accent Wall: An Italian porcelain tile in a 6” x 24” plank format with a realistic, textured wood grain finish. The varied tones in the tile add depth and authenticity.
- Main Walls: A large-format 24” x 48” matte porcelain tile in a soft, light grey. The larger size minimizes grout lines, creating a clean, seamless look that makes the space feel larger.
- Floor Tile: A 24” x 24” porcelain tile in a coordinating grey, with a subtle concrete-like texture for added visual interest and a non-slip surface.
- Vanity: A 48” wall-mounted floating vanity with a dark wood-grain finish, complementing the shower accent wall. It features soft-close drawers for sleek, hardware-free functionality.
- Countertop & Sink: A clean, white quartz countertop with an undermount rectangular sink for a modern, easy-to-clean surface.
- Fixtures: We selected fixtures from the Moen Genta collection in a matte black finish. This includes the single-handle faucet, the rain showerhead, and the handheld shower wand. The bold black provides a striking contrast against the lighter tiles and warm wood tones.
- Lighting & Electrical: New LED pot lights were installed on a dimmer switch for adjustable ambiance. All electrical outlets were upgraded to GFCI (Ground Fault Circuit Interrupter) receptacles, as required by the Ontario Electrical Safety Code for areas near water sources.
- Glass Enclosure: A custom 10mm tempered glass panel and door, creating a fully enclosed, frameless look that is both safe and stylish.
The Process & Timeline: A One-Week Transformation
A one-week timeline for a full gut renovation is ambitious and requires meticulous planning and coordination. Here’s how our team made it happen, day by day.
Day 1: Demolition and Rough-In
The week kicked off with a careful and complete demolition. The old tub, toilet, vanity, and all the tiles were removed, taking the room back to the studs and subfloor. This revealed the “bones” of the room and allowed us to inspect for any pre-existing issues. Once the space was clear, our licensed plumber and electrician got to work on the rough-ins, repositioning the water supply lines for the new shower system and vanity, and running new wiring for the pot lights and relocated GFCI outlet.
Day 2: The Waterproofing Shield
This was arguably the most critical day of the project. With the plumbing in place, we installed the new shower base and began applying the Schluter-KERDI waterproof membrane. Every seam was overlapped and sealed, creating a continuous, impenetrable barrier against moisture. This step is non-negotiable for a durable, long-lasting bathroom and is where professional expertise truly shines.
Day 3 & 4: Tile Takes Shape
With the waterproofing cured, it was time for the tile. Day three was dedicated to laying the foundation: the large-format floor tiles and the main shower wall tiles. Our tiling experts used a leveling system to ensure perfectly flat surfaces and consistent grout lines. On day four, the star of the show was installed: the wood paneling shower accent wall. Each porcelain plank was carefully placed in a staggered pattern to create a natural, random look, transforming the shower from a simple box into a design feature.
Day 5: Grouting and Major Installations
The transformation became tangible on day five. All the tile was meticulously grouted with a high-performance, stain-resistant epoxy grout. While the grout set, the team carefully mounted the floating vanity to the wall, followed by the quartz countertop and sink. The room started to look and feel like a bathroom again.
Day 6: Fixtures, Glass, and Function
This was the day of finishing touches. The new toilet was installed, and the matte black Moen faucets and shower fixtures were fitted. The custom-measured frameless glass enclosure was expertly installed, defining the shower space. Our electrician returned to install the new pot lights, GFCI outlet, and light switch, bringing the room to life.
Day 7: Final Details and Handover
The final day was all about perfection. The walls received a fresh coat of paint in a moisture-resistant bathroom-specific formula. The baseboards, mirror, and towel bars were installed. We then performed a comprehensive, top-to-bottom cleaning of the entire space. The project concluded with a final walkthrough with the very happy Mississauga homeowners, where we explained the new features and handed over their brand-new bathroom sanctuary—right on schedule.
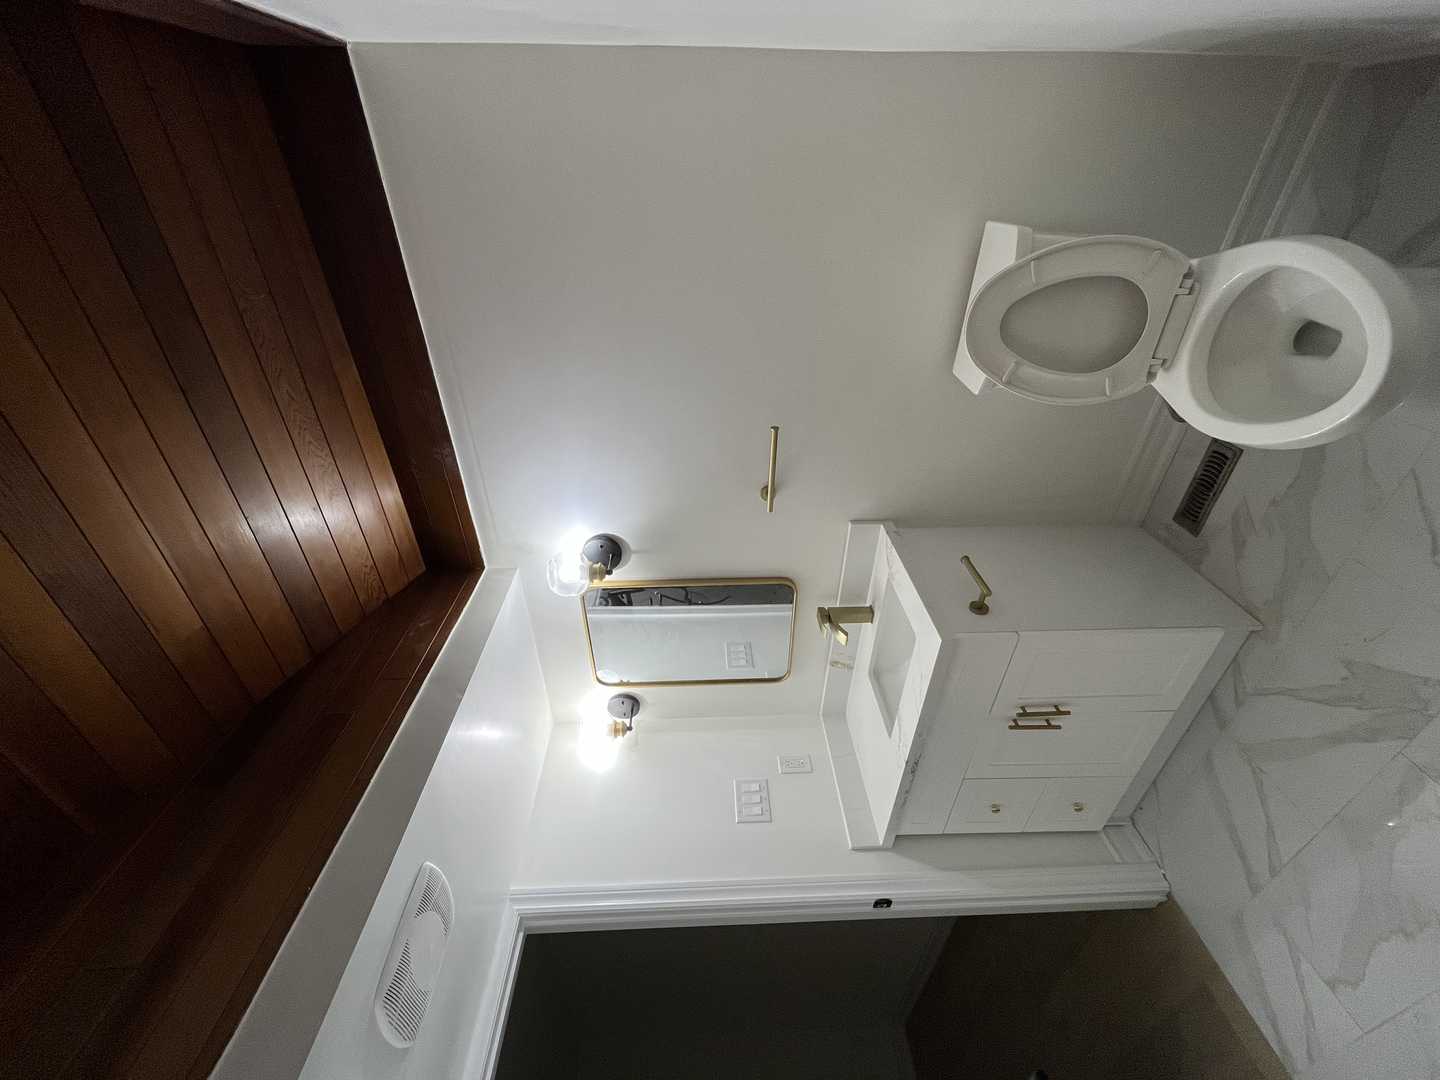
The Final Look
Stepping into the finished bathroom is like entering a different home. The space feels twice as large, thanks to the floating vanity, large-format tiles, and seamless glass shower. The matte black fixtures create a sophisticated, modern edge that pops against the soft grey walls. But your eye is immediately drawn to the shower. The wood paneling shower accent wall is a triumph, radiating a warmth that balances the room’s cool, contemporary elements. The textured surface catches the light from the new pot lights beautifully, creating an inviting and incredibly luxurious atmosphere. It’s a space that feels both invigorating in the morning and deeply calming in the evening—a perfect personal retreat.
Design Takeaways
- Embrace the Accent: A single, well-executed feature wall can define the entire aesthetic of a room. Don’t be afraid to go bold in one area while keeping others simple.
- Porcelain is Power: Modern porcelain tiles offer incredible versatility. You can achieve the look of natural materials like wood or marble without the associated cost or maintenance, making them perfect for wet areas like showers.
- Float Your Vanity: In small to medium-sized bathrooms, a wall-mounted vanity is a game-changer. By lifting the cabinet off the floor, you create an uninterrupted line of sight that dramatically enhances the sense of space.
- Contrast is Your Friend: Pairing warm elements (like the wood-look tile) with cool tones (like grey) and sharp accents (like matte black fixtures) creates a dynamic and professionally designed look.
Maintenance Tips
- Daily Care: Use a squeegee on the glass shower doors and tiled walls after each use to prevent hard water spots and soap scum buildup.
- Weekly Cleaning: Clean the tiles and grout with a pH-neutral cleaner. Avoid acidic or abrasive cleaners, which can damage the grout and tile glaze over time.
- Protect Your Fixtures: Wipe down the matte black fixtures with a soft, damp cloth. Avoid harsh chemicals that can strip the finish.
- Ventilation is Key: Always run the bathroom exhaust fan during and for at least 20-30 minutes after a shower to manage humidity and keep the space fresh and dry.
Frequently Asked Questions
Can you use real wood for a shower wall in an Ontario home?
While beautiful, we strongly advise against using real wood inside a shower enclosure. The constant exposure to moisture and humidity, even with sealants, will inevitably lead to warping, rot, and mould growth. That’s why high-quality, wood-look porcelain tile is the perfect solution—it gives you the exact aesthetic you want with the durability and water resistance you need to meet and exceed Ontario Building Code standards.
How can a full bathroom renovation be completed in just one week?
A one-week timeline is aggressive and relies entirely on meticulous upfront planning, a dedicated and experienced crew, and having all materials on-site before Day 1. Every step, from demolition to the final cleaning, is scheduled to the hour. It involves precise coordination between our tradespeople—plumbers, electricians, tilers, and installers—to ensure there is no downtime. While not suitable for every project (especially those involving major structural changes), it’s a fantastic option for homeowners looking for a stunning transformation with minimal disruption.
What is the average cost for a bathroom renovation like this in Mississauga or the GTA?
The cost of a bathroom renovation can vary significantly based on the size of the room, the quality of materials selected, and the complexity of the plumbing and electrical work. For a project similar to this one in the Mississauga area, homeowners can typically expect an investment in the range of $20,000 to $35,000. For a precise and detailed breakdown for your specific space, the best first step is to request a free, no-obligation quote.
Do I need a permit for a bathroom renovation in Toronto or Mississauga?
You generally do not need a permit for cosmetic updates like replacing a vanity, toilet, or tiles in the same location. However, a permit is typically required if you are changing the layout of the bathroom, moving plumbing drains or stacks, or altering any structural walls. Any significant new electrical work also requires an inspection by the Electrical Safety Authority (ESA). We handle all necessary permits and inspections to ensure your project is fully compliant and safe.
This Mississauga project was a joy to complete, transforming a relic of the ’80s into a modern masterpiece in just seven days. It stands as a testament to the power of a clear vision and expert execution.
If you’re dreaming of what your own bathroom could become, we’d love to help you bring that vision to life. Contact us today for a free quote and let’s get started on creating your perfect space.