In the heart of many Whitby homes lies a kitchen that’s more than just a place to cook—it’s the command centre for family life. For this particular project, our clients wanted to transform their dated, inefficient kitchen into a bright, functional, and inviting hub. The goal was a complete overhaul that prioritized a seamless flow, modern amenities, and a timeless aesthetic, all anchored by stunning white upper cabinets and medium grey lower cabinets that would create a striking two-tone contrast. This renovation story is about creating a space that is as beautiful as it is hardworking.
Quick Facts
- Project: Full Kitchen Renovation
- Category: Kitchen
- Location: Whitby, ON
- Duration: 4 weeks
- Key Features: Custom two-tone cabinetry with white uppers and medium grey lowers, quartz countertops, integrated appliances, vinyl plank flooring, layered lighting design.
Design Vision
The original kitchen was a product of a bygone era. Located in a charming Whitby detached home, it suffered from a cramped layout, limited counter space, and dark, heavy cabinetry that absorbed what little natural light the room received. The workflow was awkward, with the fridge, sink, and stove placed in a way that made cooking for a family a daily logistical challenge. The clients dreamed of an open, airy space that felt connected to their adjacent living and dining areas.
Our collaborative design vision focused on three core principles:
- Openness and Flow: The primary goal was to improve the layout to create a more intuitive and spacious environment. This involved reconfiguring the appliance locations to create an efficient work triangle and incorporating a central island to serve as both a prep area and a casual gathering spot.
- Balanced Modernism: The clients loved clean lines and modern functionality but didn’t want a space that felt cold or sterile. We chose a material palette that balanced sleek, contemporary elements with warm, neutral tones. This is where the choice of white upper cabinets paired with medium grey lower cabinets became the foundational design decision.
- Enhanced Functionality: Every inch of the new kitchen needed to work harder. This meant integrating smart storage solutions, upgrading to high-performance appliances, and designing a robust lighting plan to make the space functional at any time of day.
Materials & Specifications
A successful kitchen renovation hinges on selecting the right materials. For this Whitby project, we prioritized durability, beauty, and compliance with the Ontario Building Code (OBC).
Flooring
The engineered vinyl plank flooring in a light oak tone was selected for its practicality and style. This waterproof, click-lock system mimics the look of hardwood while offering superior resistance to moisture, scratches, and everyday wear—ideal for a busy family kitchen. The 7-inch wide planks feature a textured surface for added realism and a low-gloss finish that enhances the room’s brightness. This flooring choice created a seamless visual transition from the kitchen into the rest of the home’s main floor, making the entire space feel larger and more cohesive.
Cabinetry & Countertops
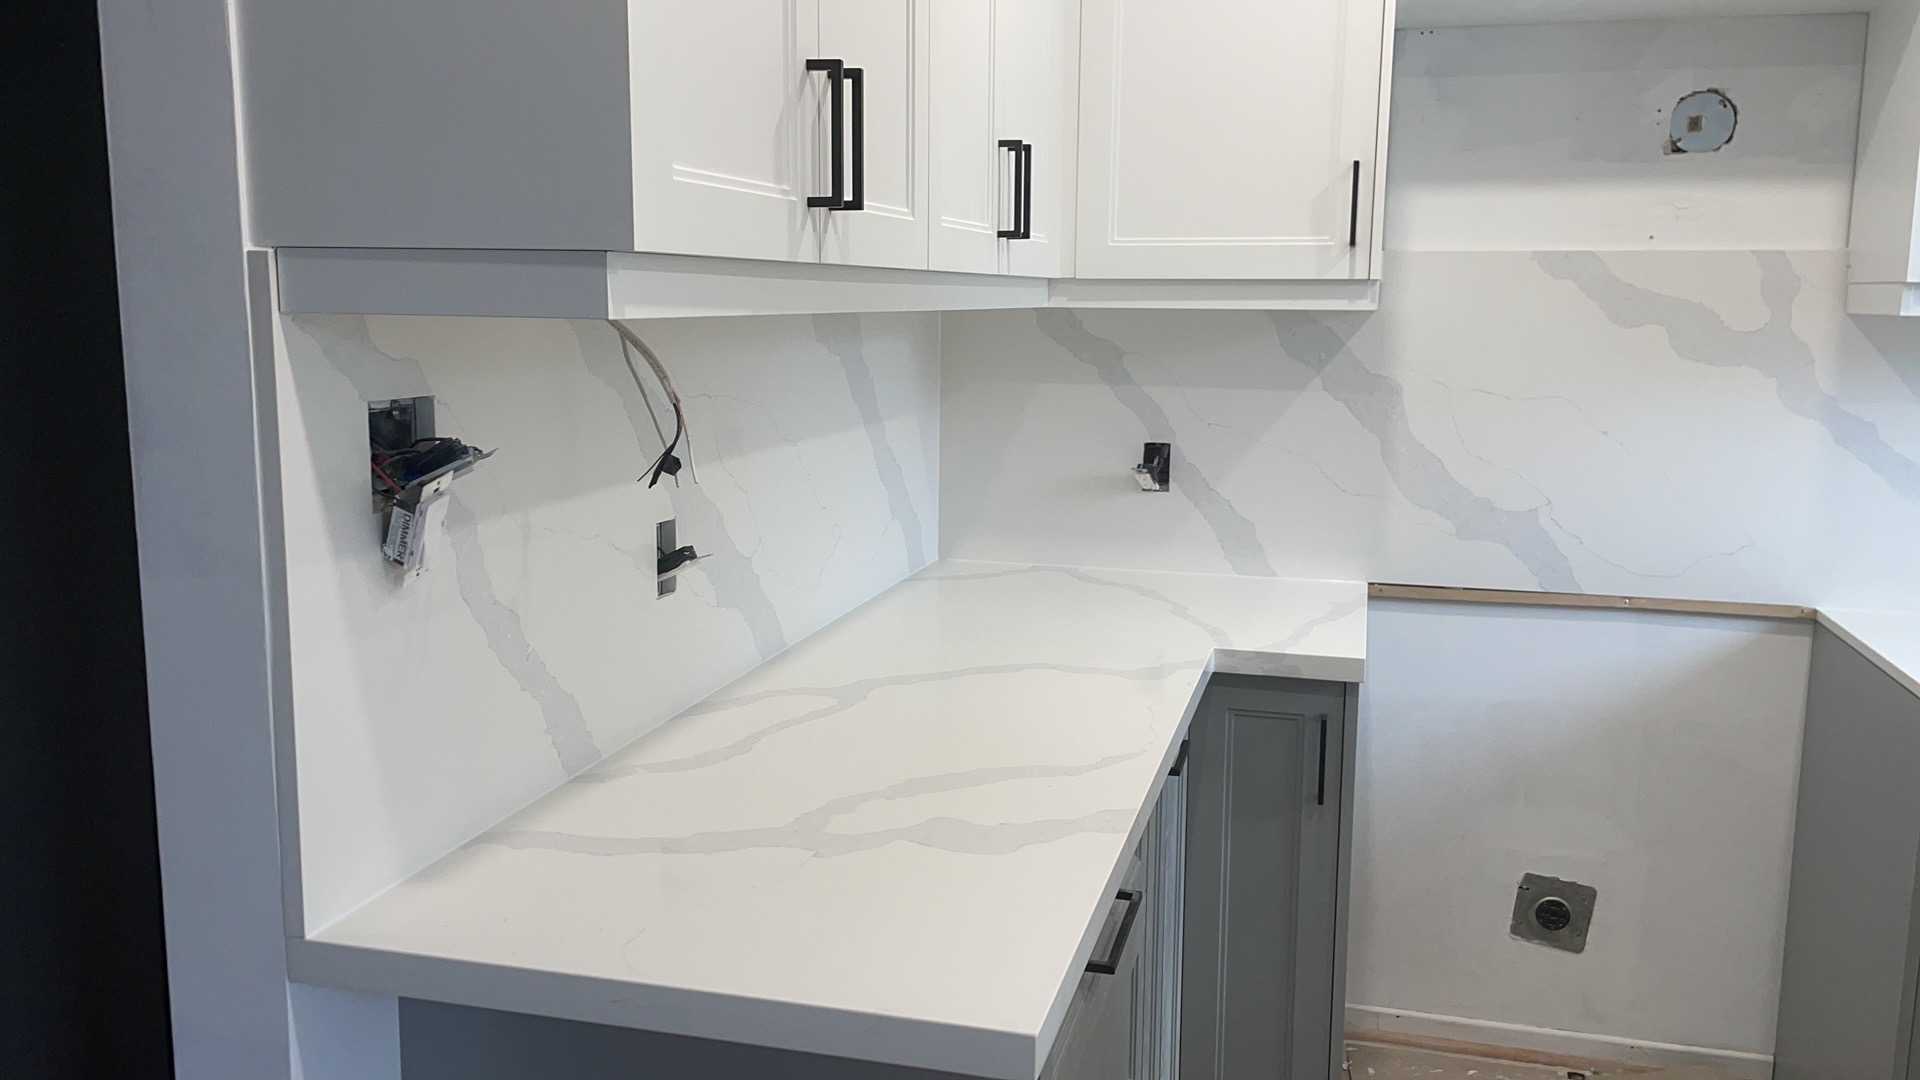
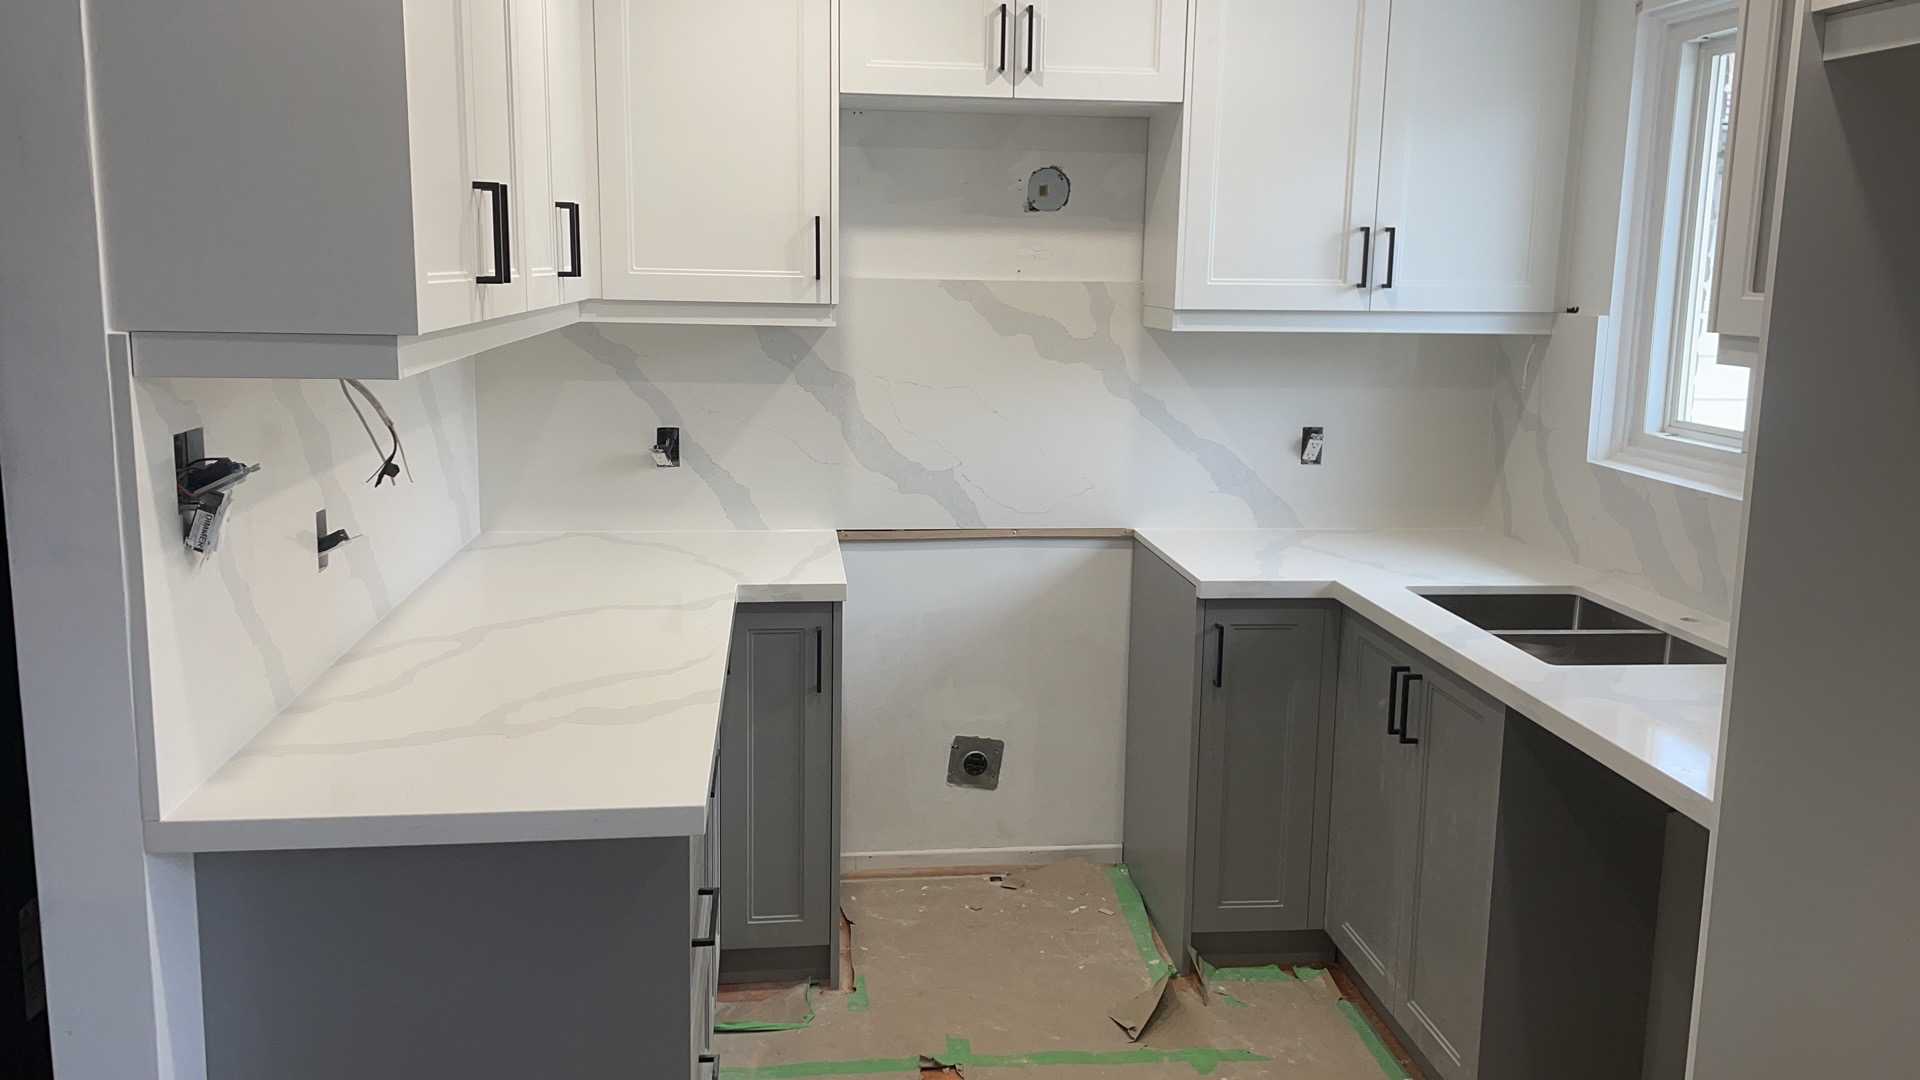
To achieve the “balanced modern” aesthetic, we designed custom, full-height cabinetry with flat-panel doors. The two-tone scheme adds visual interest and depth: the upper cabinets are finished in a crisp white (Benjamin Moore’s “Simply White”), keeping the space feeling light and open, while the lower cabinets and island are in a sophisticated medium grey (Benjamin Moore’s “Revere Pewter”). This approach grounds the design with subtle elegance without overwhelming the modest footprint.
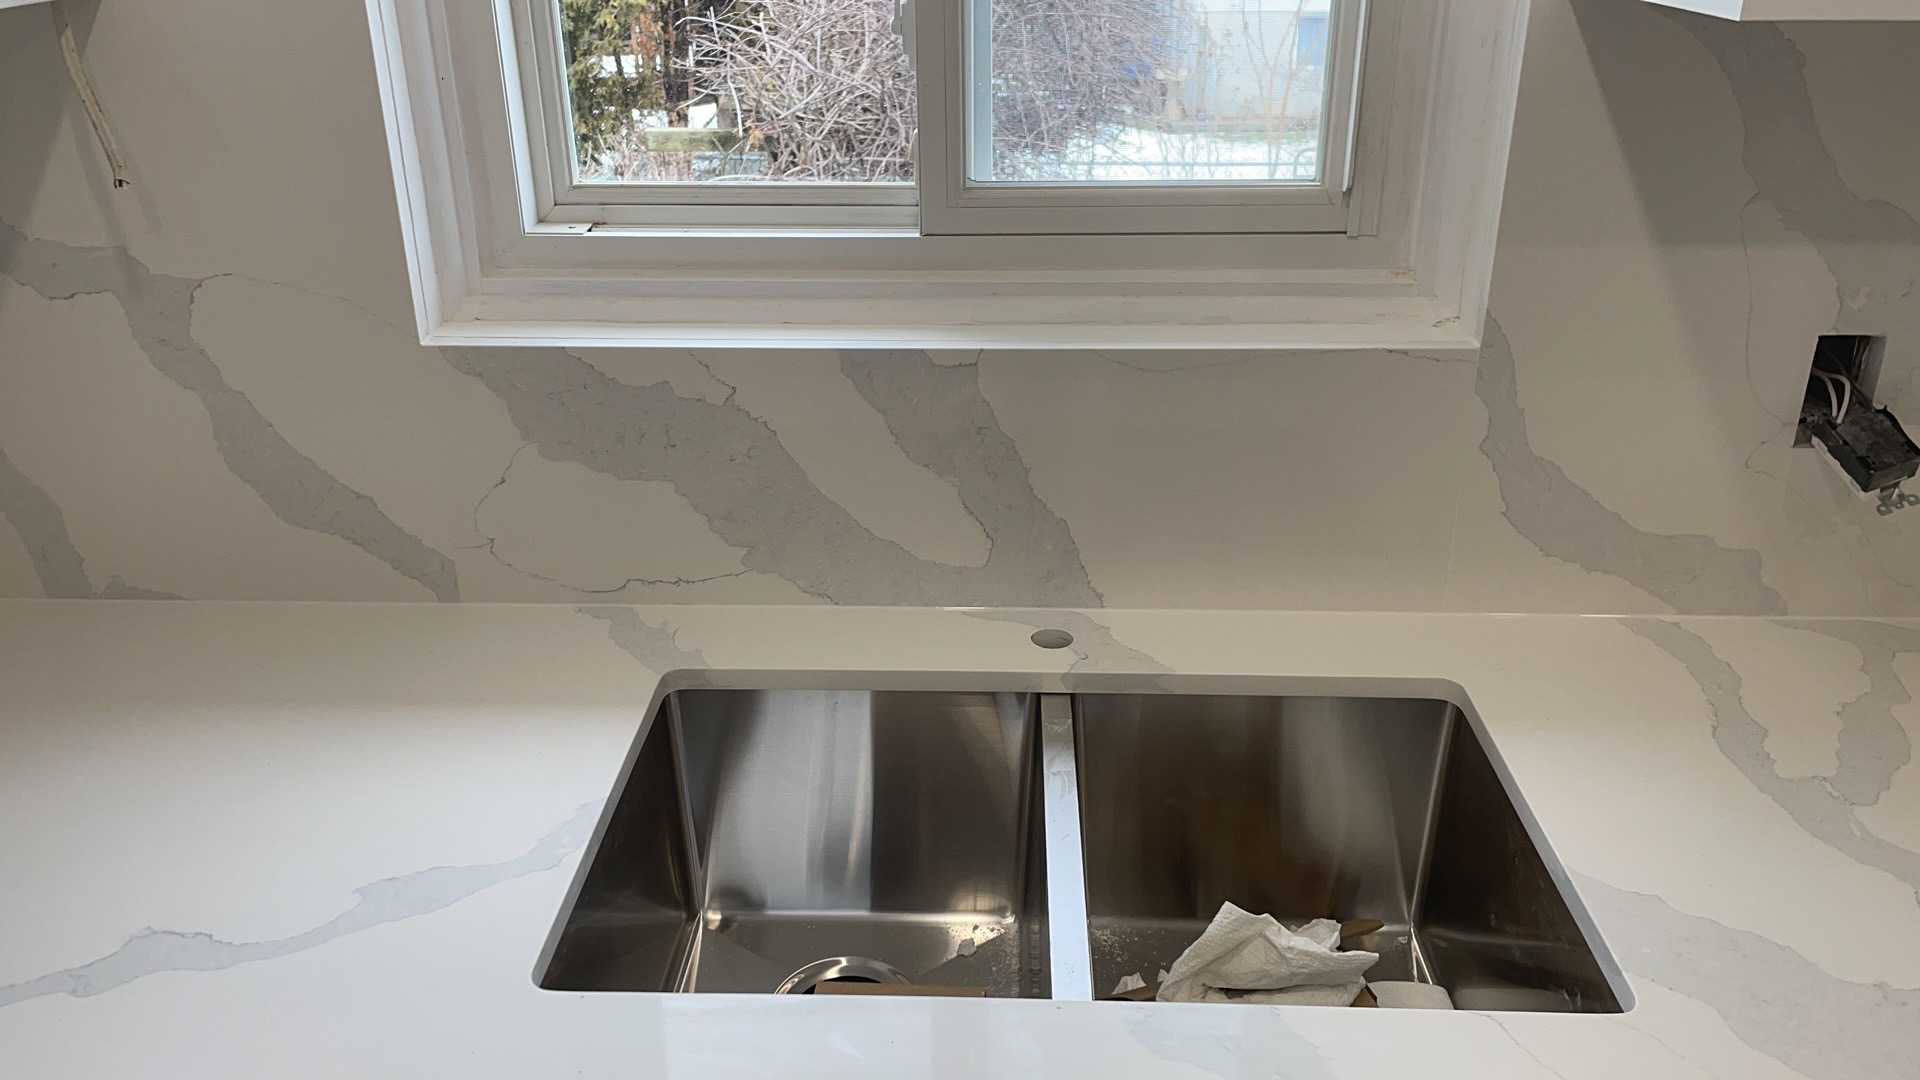
For the countertops, we selected a durable and low-maintenance quartz. The chosen slab features a soft grey base with subtle white veining, complementing the cabinetry perfectly. The backsplash is a sleek porcelain tile in a matte white, laid in a herringbone pattern to add subtle texture and movement. The clean lines of the tile enhance the modern vibe while remaining easy to maintain.
Electrical & Plumbing Fixtures
Lighting was a critical component of the design. The plan includes three layers:
- Ambient: Energy-efficient LED pot lights installed throughout the ceiling provide overall illumination.
- Task: Under-cabinet LED strip lighting illuminates the countertops for food prep. All new wiring was performed by our licensed electrical contractor to meet the stringent requirements of the Ontario Electrical Safety Code (OESC), with a final inspection certificate provided by the Electrical Safety Authority (ESA).
- Accent: Two sleek matte black pendant lights hang above the island, providing focused light and serving as a subtle visual feature.
The plumbing fixtures continue the matte black theme. A large, single-basin undermount stainless steel sink is paired with a high-arc, pull-down faucet, combining modern style with practical function.
Process & Timeline
Every renovation journey is unique, shaped by the home’s specific conditions, the complexity of the design, and material availability. While the total duration for this project is tailored to its specific circumstances, the process followed our proven, systematic phases to ensure quality and efficiency.
- Design & Planning: We began with in-depth consultations to finalize the layout, materials, and finishes. Detailed 3D renderings were created to help the clients visualize the final space, ensuring every detail was perfect before demolition began.
- Demolition and Rough-ins: The old kitchen was carefully dismantled and removed. Our team then opened the walls to update the essential infrastructure. The plumbing was re-routed to accommodate the new island sink and dishwasher, and all-new electrical wiring was run for the new appliance locations, pot lights, and under-cabinet lighting. This is a critical stage where professional, licensed trades are non-negotiable for safety and code compliance.
- Drywall, Flooring, and Painting: Once rough-in inspections were passed, new drywall was installed, taped, and mudded to a smooth Level 5 finish. The vinyl plank flooring was then laid, followed by the first coat of paint on the walls and ceiling.
- Cabinetry and Countertop Installation: The custom cabinets were delivered and meticulously installed. We then created a precise template for the quartz countertops, which were fabricated and installed shortly after.
- Finishing Touches: The final phase brought the vision to life. The backsplash tile was set, appliances were installed and connected, plumbing fixtures were hooked up, and the final electrical trim-out (installing switches, outlets, and light fixtures) was completed. A final coat of paint, installation of trim, and a professional deep clean made the space move-in ready.
The Final Look
The transformation is breathtaking. Walking into the new kitchen, you are greeted by an expansive, light-filled space that feels both sophisticated and welcoming. The light oak vinyl plank flooring flows beautifully, creating a warm foundation that perfectly complements the crisp white uppers and medium grey lowers of the cabinetry. The quartz countertops gleam under the layered lighting, and the matte black hardware adds a touch of contemporary edge.
The new layout is a game-changer for the family. The island has become the natural heart of the home, a place for morning coffee, homework sessions, and casual entertaining. The improved workflow makes cooking a joy rather than a chore, with ample counter space and everything logically within reach. It’s a space that not only meets the family’s functional needs but also brings them a sense of calm and pride every time they walk into the room.
Design Takeaways
This Whitby kitchen renovation offers valuable lessons for any homeowner planning a similar project:
- Embrace Two-Tone Cabinetry for Depth: The white upper and medium grey lower cabinets create a visually appealing contrast that adds personality and makes the space feel more dynamic without complicating the design.
- Opt for Vinyl Plank in High-Traffic Areas: This versatile flooring delivers the warmth of wood with the resilience needed for a kitchen, offering a budget-friendly alternative that doesn’t compromise on style or performance.
- Layer Your Lighting Thoughtfully: The success of this kitchen is significantly enhanced by its lighting. Moving beyond a single ceiling fixture to a layered approach with ambient, task, and accent lighting is the single most effective way to elevate the function and mood of your kitchen.
Maintenance Tips
To keep this beautiful kitchen looking its best for years to come, we provided the clients with these simple care instructions:
- Vinyl Plank Flooring: Clean up spills immediately with a soft, dry cloth. For regular cleaning, use a microfiber mop and a pH-neutral cleaner. Avoid harsh chemicals or excessive water. Place felt pads on the bottom of all chairs and tables.
- Quartz Countertops: Wipe down daily with a soft cloth and a mixture of mild dish soap and warm water. While quartz is stain-resistant, wipe up coffee, wine, or oils promptly. Always use a cutting board and place hot pots and pans on trivets to avoid thermal shock.
- Painted Cabinetry: Dust regularly with a soft, dry cloth. For smudges or grease, use a damp cloth with a small amount of gentle soap. Avoid abrasive cleaners or scrub pads that could damage the painted finish.
Frequently Asked Questions
1. Do I need a permit from the Town of Whitby for a kitchen renovation? It depends on the scope of your project. For a cosmetic update like this one—replacing cabinets, countertops, and flooring within the existing footprint—a building permit is typically not required. However, if you plan to move or remove walls, alter the building’s structure, or make significant changes to the plumbing or HVAC systems, a permit is absolutely necessary. All electrical work, regardless of scope, must be done by a Licensed Electrical Contractor and requires an ESA permit and inspection.
2. Why choose vinyl plank flooring for a kitchen instead of a more traditional material like porcelain tile? While porcelain tile is incredibly durable and waterproof, vinyl plank offers a different set of benefits. It’s warmer and softer underfoot, which can be more comfortable if you spend a lot of time standing in the kitchen. Aesthetically, it allows for a continuous flow of flooring from your living spaces into the kitchen, which is highly desirable in open-concept Whitby homes and can make the entire floor plan feel larger and more unified.
3. How do you ensure all the tradespeople working on my project are qualified? This is a cornerstone of our process. We only work with a trusted team of licensed and insured professionals. Our electricians are all Licensed Electrical Contractors registered with the ESA, and our plumbers are licensed and certified. We manage all scheduling and coordination, ensuring that every aspect of your renovation is completed to the highest standards and in full compliance with the Ontario Building Code.
Ready to stop dreaming about your perfect kitchen and start building it? We’d love to hear about your vision for your Whitby home. Reach out to us today to schedule your consultation and receive a free, no-obligation quote.